This group of sub menus serves for managing tabs (bookmarks) located in the Contact's Business Card.
There are two tabs which cannot be removed from the Business Card: Contact History and E-Mail.
The E-Mail tab shows only if you have enabled your local e-mail client messages import.
Adding a Tab
The menu item opens the New Tab window.
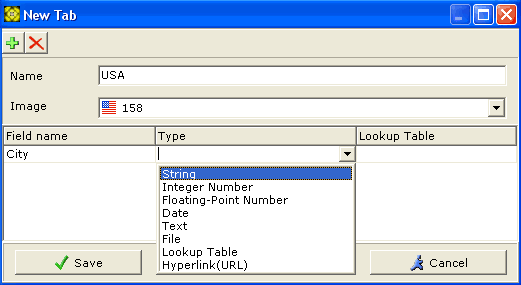
Enter the name of the new tab in the Name text input field, then from the Image dropdown list, choose the icon to be associated with the new tab.
Click on the ![]() button to add a new entry in the tabular list.
button to add a new entry in the tabular list.
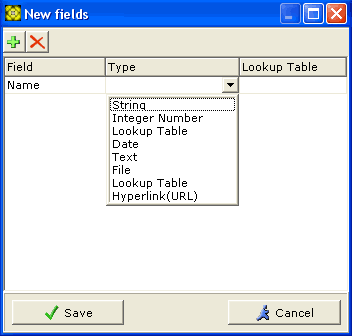
Enter the field name and its data type.
If you have chosen the Lookup table as the data type, a list of all the available lookup tables will be opened in a separate window. Choose one lookup table from that list.
To delete items, use the ![]() button.
button.
Editing a Tab
This menu item opens the Tabs window, containing the list of all the tabs available to the current user.
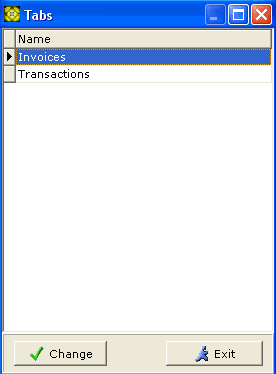
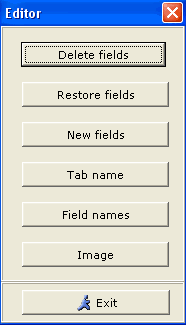
Double-clicking with left mouse button on one of the items in the list or clicking on the button opens the Tabs Editor window, which contains buttons serving to launch actions of editing the tabs.
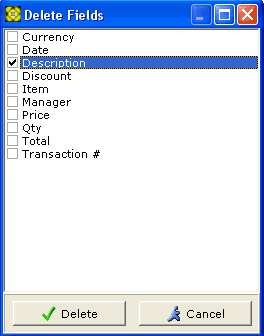
Clicking on button opens a window with the list of fields contained in the selected tab. To remove fields from the tab, checkmark those you want to remove and click on button.
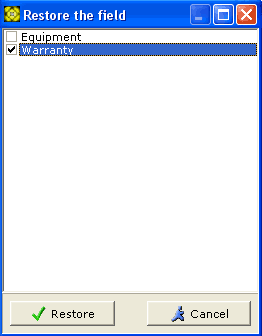
Clicking on button opens a window with the list of fields which were previously removed from the selected tab.
To restore fields, checkmark them in the list and click on button.
The button allows for adding new fields to the tab in a way similar to adding tabs: entering names, choosing the field types and clicking on button to store the changes you have made.
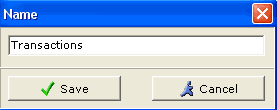
The button opens the window of the same name. Enter the new name and click on button. Next time the Contact's Business Card is open, the tab will bear the name you have given it here.
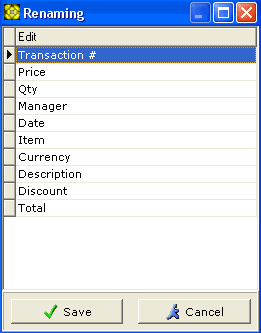
The button opens the list of field names in a new window. To change a name, select it in the list, enter the new name and click on button.
When you open the Contact's Business Card, you will see that the fields in the tab have new names.
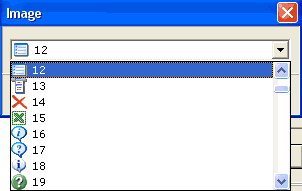
The button opens a window containing a dropdown list of images. Choose the icon for your tab from the dropdown list and click on button. Now the tab in the Contact's Business Card will appear with this image on.
Deleting Tabs
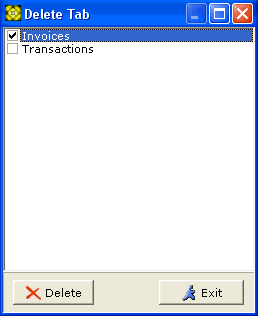
This menu item serves for deleting one or more tabs. Checkmark the tabs you want to be deleted, then click on button. Please note that the deleted tabs are not removed from the database, but just become hidden and marked for removal until the next database cleanup. That is, if fields and their data are deleted by mistake, they can be restored.